
Self-driving cars are now a common sight on the roads of cities like Shanghai and San Diego. LiDAR technology is what enables these vehicles to sense and understand their surroundings. An acronym for Light Detection and Ranging, LiDAR has transformed how we perceive and interact with the physical world in digital formats.
However, for a long time, LiDAR was too heavy and expensive for mobile devices. Older LiDAR often used larger optics and scanning mechanisms, which were too bulky for mobile phones. And that hardware also demanded a lot of processing power that was unrealistic for mobile applications.
But Apple has led from the front to make LiDAR suitable for its mobile usage. It is now actively used in the latest versions of iPhone and iPad Pro. With its integration into modern iOS App Development, developers can harness depth-sensing capabilities for various applications, from augmented reality (AR) to 3D modeling.
This blog dives into how LiDAR scanning works, extracting and upscaling depth data, generating point clouds, and mapping 2D and 3D coordinates for innovative iOS app development projects.
What is LiDAR and how it works?
LiDAR uses laser pulses to measure distances by analyzing the time light travels to and from an object. In other words, it uses the speed of light to calculate how far an object is. This creates a highly accurate depth map of the environment, like an X-ray vision that can make detailed maps of its surroundings.
The technology was first used in the 1960s during the Apollo XI mission to measure the distance a laser beam travels from Earth to Moon. There are three major components in LiDAR technology:
- The emitter which sends out the laser light
- A receiver, usually a GPS, that catches the reflected light
- LiDAR scanner that measures how long the pulse took to return and turns that into depth data
LiDAR scanners can accurately calculate distances to objects up to 5 meters away with lightning speed.
How iOS devices use LiDAR
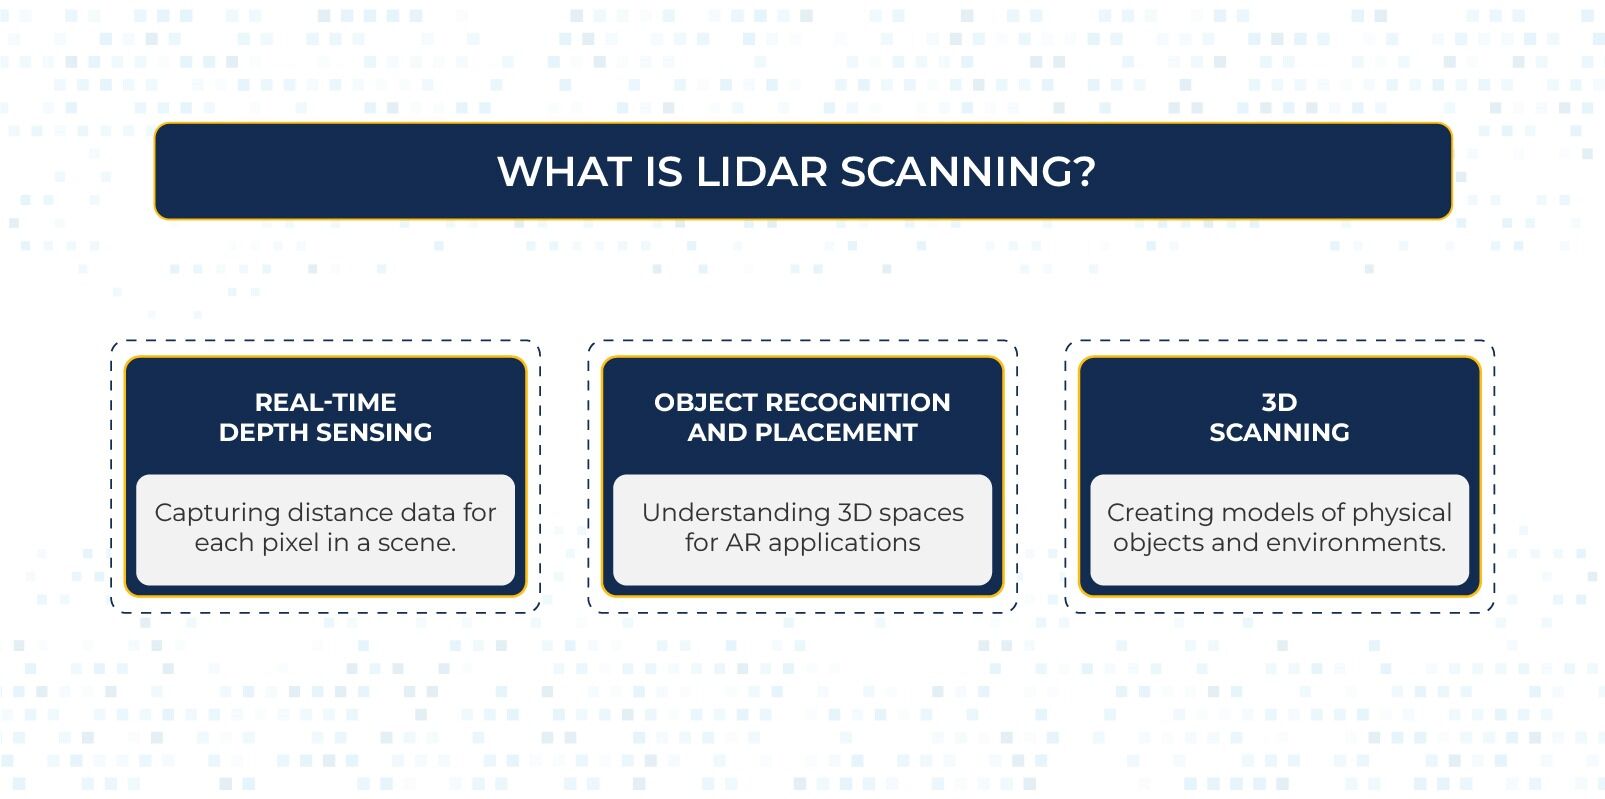
In iOS devices, the LiDAR sensor works seamlessly with the camera and ARKit framework to enable.
- Real-Time Depth Sensing: Capturing distance data for each pixel in a scene.
- Object Recognition and Placement: Understanding 3D spaces for AR applications.
- 3D Scanning: Creating models of physical objects and environments.
What is ARKit? It’s Apple’s built-in augmented reality (AR) framework for its devices. On LiDAR-capable devices, ARKit can also provide scene depth per frame, captured by the LiDAR scanner when you enable it.
Understanding Depth Data
Depth data from the LiDAR sensor is represented as a depth map, which is a 2D image where each pixel encodes the distance to a corresponding point in the real world.
In iOS app development, iOS devices provide this data through frameworks like ARKit and AVFoundation, enabling developers to integrate depth-sensing features into their applications.
For example, a typical depth map might have a resolution of 256×192, which is lower than the RGB camera’s resolution. Upscaling is necessary to align depth data with high-resolution RGB frames.
How the Data-Processing Works in iOS LiDAR Apps
Combining LiDAR with ARKit and built-in cameras of iPhone 12 and later versions can give excellent results. But it requires a lot of data processing because what the device measures is not necessarily what your app can build features on.
Since depth map resolutions are different than camera image resolutions, it requires the following steps to deliver the ideal results.
Upscaling Depth Data to Match RGB Resolution
The depth map must be resized to map depth data onto the RGB image. Here’s how it’s done using Core Image:
import CoreImage
func upscaleDepthMap(depthPixelBuffer: CVPixelBuffer, targetSize: CGSize) -> CVPixelBuffer? {
let ciImage = CIImage(cvPixelBuffer: depthPixelBuffer)
let scaleFilter = CIFilter(name: “CILanczosScaleTransform”)!
scaleFilter.setValue(ciImage, forKey: kCIInputImageKey)
let scaleX = targetSize.width / CGFloat(CVPixelBufferGetWidth(depthPixelBuffer))
let scaleY = targetSize.height / CGFloat(CVPixelBufferGetHeight(depthPixelBuffer))
scaleFilter.setValue(scaleX, forKey: kCIInputScaleKey)
scaleFilter.setValue(scaleY, forKey: kCIInputAspectRatioKey)
let context = CIContext()
guard let outputImage = scaleFilter.outputImage else { return nil }
var newPixelBuffer: CVPixelBuffer?
CVPixelBufferCreate(nil, Int(targetSize.width), Int(targetSize.height), kCVPixelFormatType_32BGRA, nil, &newPixelBuffer)
if let buffer = newPixelBuffer {
context.render(outputImage, to: buffer)
}
return newPixelBuffer
}
This function resizes the depth map to match the target RGB frame size (e.g., 1920×1440).
Generating Point Clouds from Depth Data
Point clouds represent a collection of 3D points in space. Each point includes:
- (x, y): Pixel coordinates in the 2D image.
- z: Depth value (distance in meters).
Here’s how to extract a 2D point cloud:
func extract2DPointCloud(from depthPixelBuffer: CVPixelBuffer) -> [(x: Int, y: Int, z: Float)] {
let width = CVPixelBufferGetWidth(depthPixelBuffer)
let height = CVPixelBufferGetHeight(depthPixelBuffer)
var pointCloud: [(x: Int, y: Int, z: Float)] = []
CVPixelBufferLockBaseAddress(depthPixelBuffer, .readOnly)
let depthPointer = CVPixelBufferGetBaseAddress(depthPixelBuffer)!.assumingMemoryBound(to: Float32.self)
for y in 0..<height {
for x in 0..<width {
let depthValue = depthPointer[y * width + x]
pointCloud.append((x: x, y: y, z: depthValue))
}
}
CVPixelBufferUnlockBaseAddress(depthPixelBuffer, .readOnly)
return pointCloud
}
The extracted point cloud retains the 2D pixel positions and their corresponding depth values without transforming them into world coordinates.
Converting to 3D World Coordinates
To create a 3D point cloud that maps points in the image to their real-world positions, you can use the camera’s intrinsic matrix and the depth values. This approach involves unprojecting the 2D points into 3D space.
Here’s how you can calculate 3D world coordinates:
func convertToWorldCoordinates(pointCloud: [(x: Int, y: Int, z: Float)], cameraIntrinsics: matrix_float3x3) -> [SIMD3<Float>] {
var worldPoints: [SIMD3<Float>] = []
for point in pointCloud {
let x = Float(point.x)
let y = Float(point.y)
let z = point.z
let normalizedX = (x – cameraIntrinsics[2][0]) / cameraIntrinsics[0][0]
let normalizedY = (y – cameraIntrinsics[2][1]) / cameraIntrinsics[1][1]
let worldPoint = SIMD3<Float>(normalizedX * z, normalizedY * z, z)
worldPoints.append(worldPoint)
}
return worldPoints
}
This method uses the camera’s intrinsic parameters to project 2D points into 3D space.
Combining 2D and 3D Point Clouds
When working with both 2D pixel coordinates and 3D world coordinates, you can pair the information to build a comprehensive point cloud:
- 2D Data: Useful for overlaying on the image or aligning with other image features.
- 3D Data: Essential for applications that require spatial understanding or manipulation in the real world.
Combining these allows you to create augmented reality experiences where objects are accurately placed in both image and world spaces.
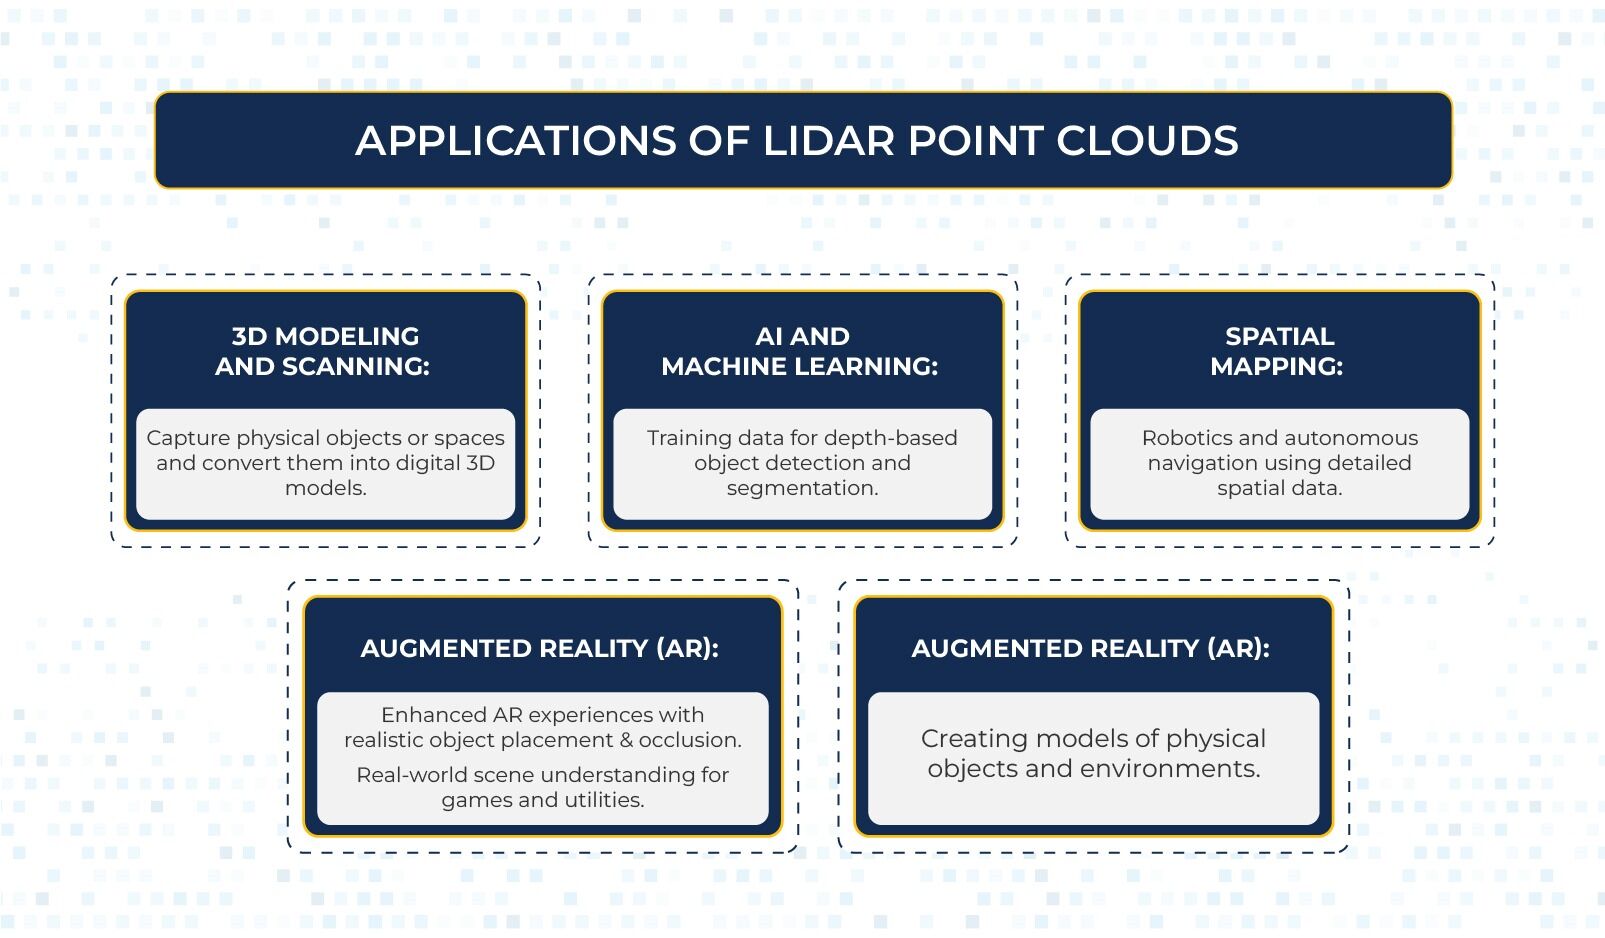
5 Applications of LiDAR Point Clouds
Once you have depth-based points, you can work with real spatial geometry. That gives you a wide range of practical app features. Here are five such impactful ways LiDAR point clouds are commonly used in iOS apps.
-
Augmented Reality (AR):
- Enhanced AR experiences with realistic object placement and occlusion.
- Real-world scene understanding for games and utilities.
-
3D Modeling and Scanning:
- Capture physical objects or spaces and convert them into digital 3D models.
-
AI and Machine Learning:
- Training data for depth-based object detection and segmentation.
-
Spatial Mapping:
- Robotics and autonomous navigation using detailed spatial data.
-
Engineering and Design:
- Create CAD models from real-world scans for design and prototyping.
Saving Point Cloud Data
You can save the point cloud data to a file (e.g., .csv or .ply) for further processing or visualization in 3D software.
-
Saving 2D Point Clouds
func savePointCloudToFile(pointCloud: [(x: Int, y: Int, z: Float)], fileName: String) {
let fileURL = FileManager.default.urls(for: .documentDirectory, in: .userDomainMask)[0].appendingPathComponent(“(fileName).csv”)
var csvString = “x,y,zn”
for point in pointCloud {
csvString.append(“(point.x),(point.y),(point.z)n”)
}
try? csvString.write(to: fileURL, atomically: true, encoding: .utf8)
print(“Point cloud saved at: (fileURL)”)
}
-
Saving 3D Point Clouds
For 3D world coordinates, modify the above function to save the data in .ply format, a common 3D file format:
func save3DPointCloudToPLY(worldPoints: [SIMD3<Float>], fileName: String) {
let fileURL = FileManager.default.urls(for: .documentDirectory, in: .userDomainMask)[0].appendingPathComponent(“(fileName).ply”)
var plyContent = “plynformat ascii 1.0nelement vertex (worldPoints.count)nproperty float xnproperty float ynproperty float znend_headern”
for point in worldPoints {
plyContent.append(“(point.x) (point.y) (point.z)n”)
}
try? plyContent.write(to: fileURL, atomically: true, encoding: .utf8)
print(“3D Point cloud saved at: (fileURL)”)
}
Conclusion
LiDAR scanning on iOS offers a powerful way to bring the physical world into digital workflows. Developers can create innovative applications across various domains by combining depth maps, upscaling, point clouds, and 3D transformations.
Whether you’re building AR experiences, 3D scanning tools, or training machine learning models, mastering LiDAR is a must-have skill for today’s developers.
Understanding how to extract 2D and 3D point clouds and work with depth data empowers developers to create more immersive, data-rich applications. The ability to visualize, analyze, and save these point clouds further extends the scope of LiDAR’s applications.
With continuous advancements in iOS app development and ARKit, the future of LiDAR technology promises even more exciting opportunities.
If you need further help in iOS app development, you can contact us at [email protected]. We will schedule a free consultation session to explore how Xavor can assist you.

FAQs
LiDAR is available on iPhone Pro models and iPad Pro models that support advanced depth sensing and AR features. Specifically, it’s included on iPhone 12 Pro and Pro Max and all newer Pro models iPhone 13 Pro and onwards.
LiDAR’s main downsides are higher hardware cost, increased power usage, and limited range, especially on mobile devices where the sensor is small. Accuracy can also drop in bright sunlight.
LiDAR generally cannot penetrate solid, opaque materials like walls, metal, concrete, wood, or thick plastic. It measures distance by bouncing light off surfaces, so it needs a clear line of sight. It also struggles to read through dense fog, heavy smoke, and muddy or murky water.