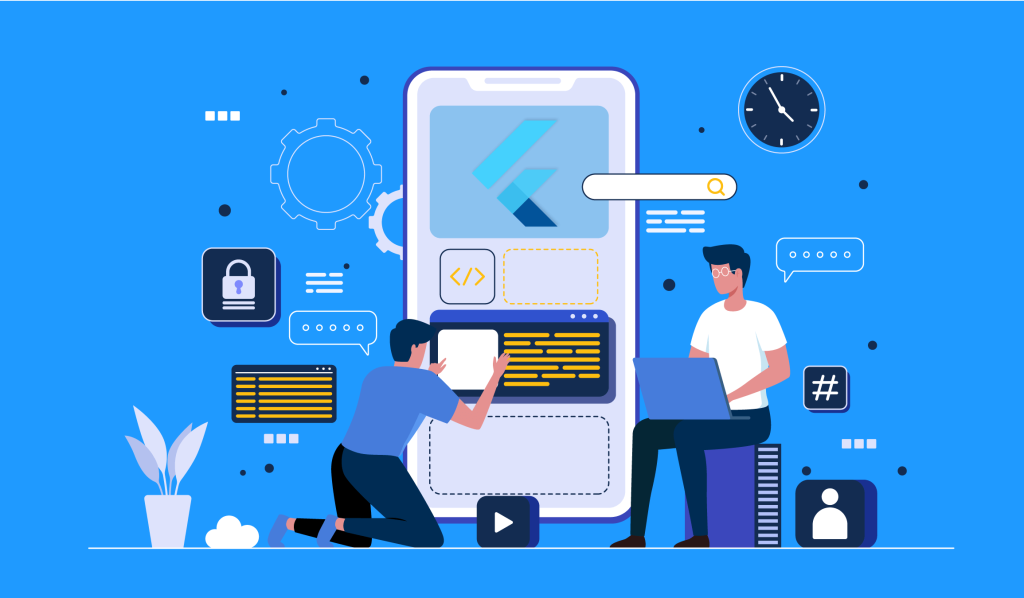
Are you a mobile app developer looking to offer your own Flutter app development services? Flutter has revolutionized the cross platform app development landscape by making it easy for developers to deliver high-quality cross-platform apps in no time. If you want to learn how to build your own Flutter app, you’re in the right place.
In this article, we will give you a step-by-step guide to building your first Flutter application. But before we do that, let’s first understand Flutter.
Let’s dive in!
Understanding about Flutter
Flutter is a dynamic open-source SDK developed and managed by Google. Since its release in May 2017, Flutter has evolved into one of the most sought-after cross-platform app development frameworks in the world today.
This versatile toolkit has gained widespread acclaim for its ability to empower developers in constructing natively compiled applications across various platforms, including mobile, web, and desktop. It enables developers to create applications using a unified codebase, thus streamlining the software development process and fostering efficiency and consistency.
Flutter is Google’s brainchild, and as such, the tech giant has consistently invested in enhancing its capabilities to ensure that the framework always stays in line with rapidly changing market conditions. Flutter’s ever-growing development community also testifies to its popularity. This growing community has further cemented Flutter’s position as a leader in the cross-platform app development landscape, as developers from diverse backgrounds collaborate with each other and share insights, enriching its ecosystem.
What is Flutter app development?
Flutter app development is the process of creating apps for mobile, web, and desktop using Flutter, a user interface (UI) toolkit from Google. It allows developers to write one codebase and use it across different platforms like iOS, Android, Windows, macOS, Linux, and the web.
Flutter makes app development faster and more efficient by eliminating the need to build separate apps for each platform. It offers a consistent design, smooth performance, and flexibility in how the app looks and feels.
If you’re building a small prototype or a full-scale enterprise solution, Flutter is a powerful choice for developing modern, cross-platform applications.
A Step-by-Step Guide to Developing a Flutter App
1. Understand the Basics
To begin developing a Flutter app, you need to familiarize yourself with certain basic concepts first. These include the Dart programming language, upon which Flutter is based. It also includes understanding how Flutter architecture works.
-
Dart
Flutter uses Dart as its programming language. Google has developed this programming language with ease of use and efficiency in mind. Dart’s syntax is C-style, making it accessible for developers familiar with languages like Java or JavaScript.
It features a just-in-time (JIT) compiler for rapid development and an ahead-of-time (AOT) compiler for optimized, native code production. It integrates seamlessly with Flutter and allows developers to create expressive and performant user interfaces with a single codebase, enhancing the efficiency of cross-platform app development.
-
Flutter Architecture
Flutter follows a reactive UI architecture based on Dart. At the core of Flutter’s architecture is the widget tree, where everything, including structural elements and UI components, is a widget. Flutter employs a declarative approach, meaning UI is described based on the current state, and any changes trigger a rebuild. The framework uses a “hot reload” feature for rapid development, allowing developers to instantly see changes.
Underneath, Flutter interacts with the underlying platform through a thin layer called the “engine,” which is written in C++. This layer enables Flutter apps to achieve native-like performance. Flutter embraces a widget composition model, where smaller widgets are combined to create complex UIs, promoting reusability and maintainability.
2. Get Started with Flutter
You need to check out a few things before you start developing an application using Flutter. First things first, check if your system requirements are in line with Flutter’s basic system requirements. For example, Windows, macOS, and Linux systems require disk spaces of 1.64 GB, 2.8 GB, and 600 MB, respectively. You also need certain tools, like git, bash, unzip, etc., to operate Flutter.
Once you have determined that your system requirements meet Flutter’s requirements, go ahead and install the Flutter SDK. Once the download is complete, extract the zipped file to a location of your choice on your machine. Follow the official installation guide on the Flutter website to set up the framework and its dependencies.
3. Set up an IDE
Although you can write Flutter code using any text editor with a command-line tool, we recommend you use an integrated development environment (IDE) for developing your application, as it streamlines the writing, debugging, and testing processes.
Popular choices include Visual Studio Code, Android Studio, and IntelliJ IDEA. Install the necessary plugins and extensions to enhance your development experience. The Flutter and Dart plugins offer functionalities like syntax highlighting, code completion, widget editing assists, and more.
4. Create a New Flutter Project
Use the `flutter create` command to initiate a new Flutter project. Provide a project name and choose the desired directory. This command generates the basic project structure for you to start building your app.
5. Explore the Project Structure
Although a Flutter project carries many directories and files, the main file for any Flutter app project is `lib/main.dart`. This file serves as the entrance to the application.
Open the `main.dart` file in the lib directory. Write Dart code to define your app’s structure, UI, and functionality. Flutter uses a widget-based architecture, so understanding and creating widgets are fundamental.
Key directories include `lib` (for your Dart code), `test` (for tests), and `android/ios` (platform-specific configurations). The `pubspec.yaml` file holds project metadata and dependencies.
6. Run Your Flutter App
You require a device – physical or virtual – to run your mobile application services. If you’re using a physical device, plug a USB cable into the USB port and enable development options. It is also possible to utilize an emulator or a simulator.
Use the iOS simulator for iOS and the Android Emulator for Android. Once the device is all setup, use the terminal to move to your project directory and run `flutter run`.
7. Use Widget to Design the Application UI
Flutter provides a rich set of pre-designed widgets for building UI components. You can design your app’s interface using widgets like `Container`, `Column`, `Row`, and more. Moreover, feel free to customize styles with themes and explore Flutter’s widget catalog to leverage its capabilities.
There is so much that this framework has to offer. Make sure you check out these Flutter design principles and techniques to make intuitive Flutter UIs!
8. Manage State
Understand and manage the state in your Flutter app. Flutter supports both stateless and stateful widgets. Use the `setState` method for stateful widgets to trigger a rebuild when the state changes.
9. Implement Navigation
Implement navigation to allow users to move between different screens or pages. Flutter provides the `Navigator` class and various navigation widgets to facilitate a seamless user experience.
You should start by creating a new Dart file for the screen you want to navigate to. This file typically contains a widget that represents the content of the new screen.
In the main Dart file (usually `lib/main.dart`), define a named route for the new screen using the `MaterialPageRoute` class. This involves specifying a route name and associating it with the widget that represents the screen.
routes: {
‘/secondScreen’: (context) => SecondScreen(),
},
Use the `Navigator` class to navigate to the new screen when a certain action occurs, such as a button press. The `Navigator` provides methods like `push` to push a new route onto the stack. Navigator.pushNamed(context, ‘/secondScreen’);
You can pass data between screens by including arguments in the navigation process.Navigator.pushNamed(
context,
‘/secondScreen’,
arguments: {
‘data’: ‘Hello from the first screen!’
}
);
In the new screen, extract the passed data using the `ModalRoute` class.
final Map<String, dynamic> args = ModalRoute.of(context).settings.arguments;
To navigate back to the previous screen, use the `Navigator.pop` method. This pops the current route off the navigation stack.
Navigator.pop(context);
Navigation Between Two Screens:
Here’s the full example that illustrates how you can navigate between two screens:
// main.dart
void main() {
runApp(MyApp());
}
class MyApp extends StatelessWidget {
@override
Widget build(BuildContext context) {
return MaterialApp(
routes: {
‘/’: (context) => FirstScreen(),
‘/secondScreen’: (context) => SecondScreen(),
},
);}}
class FirstScreen extends StatelessWidget {
@override
Widget build(BuildContext context) {
return Scaffold(
appBar: AppBar(
title: Text(‘First Screen’),
),
body: Center(
child: ElevatedButton(
onPressed: () {
Navigator.pushNamed(context, ‘/secondScreen’, arguments: {‘data’: ‘Hello from the first screen!’});
},
child: Text(‘Go to Second Screen’),
),
),
);} }
class SecondScreen extends StatelessWidget {
@override
Widget build(BuildContext context) {
final Map<String, dynamic> args = ModalRoute.of(context).settings.arguments;
return Scaffold(
appBar: AppBar(
title: Text(‘Second Screen’),
),
body: Center(
child: Text(args[‘data’]),
), ); }}
10. Add Functionality
Enhance your app by adding functionality. Utilize Dart packages from the pub.dev repository to incorporate features like HTTP requests, database integration, and device capabilities.
11. Perform Tests & Optimize Performance
Write unit and widget tests to ensure the reliability of your code. Flutter’s testing framework makes it easy to create tests for different parts of your app. Moreover, you should optimize your app for performance by minimizing unnecessary rebuilds, using efficient data structures, and implementing lazy loading where appropriate.
12. Build & Deploy
Once your app is ready, use the `flutter build` command to generate platform-specific build files. Deploy your app to app stores or distribute it through other channels.
Features to consider in Flutter app development in 2026
When building a Flutter app in 2026, it’s crucial to incorporate features that align with modern trends and user expectations. Here are the key features to think about:
1. Modern and attractive design
- Make sure the app looks good on all screen sizes, even foldable phones.
- Use smooth animations and little interactive touches to make the app feel lively.
- Add dark mode to help reduce eye strain and save battery.
2. Fast and efficient performance
- Apps should open quickly and run smoothly on all devices.
- Manage memory wisely so the app doesn’t slow down or crash.
3. Smart features with AI
- Add features like personalized content or product recommendations.
- Use tools that can understand images or talk with users using natural language.
4. AR and VR experiences
- Use Augmented Reality (AR) and Virtual Reality (VR) for fun and engaging experiences, especially in learning apps, games, or virtual tours.
5. Connect with smart devices (IoT)
- Let users control their smart home devices, fitness trackers, or wearables right from the app.
6. Strong security
- Keep user data safe with strong privacy settings and secure connections.
7. Biometric login
- Make logins faster and safer with fingerprint or face recognition.
8. Same look across all devices
- The app should feel the same whether someone is using an Android or an iPhone.
9. Easy to use for everyone
- Add features like large text, screen readers, and voice control so people with disabilities can use the app comfortably.
- Support multiple languages and design with all types of users in mind.
10. Cloud connection
- Let users save their data online so they can access it from any device, anytime.
11. Social media features
- Make it easy for users to log in using Facebook, Google, or other social accounts.
- Allow them to share content from your app directly to their social media.
Conclusion
This article hardly does justice to the immense potential of Flutter. As the leading app development framework, Flutter offers a lot to developers. However, no Flutter developer can achieve excellence without acquainting themselves with the basics first – which is what this article is all about.
If you’re looking for a Flutter app development company or you want to hire Flutter developers, you are in luck! With over 27 years of experience in delivering innovative software solutions, Xavor Corporation is a US-based tech company with a presence in China and Pakistan. We have a team of expert Flutter developers who can build a Flutter app for your business, ensuring it fits neatly with your goals and needs.
Drop us a line today at [email protected] to learn more about Xavor’s Flutter app development services!

FAQs
It depends on the app’s complexity, features, and integrations. A simple Flutter MVP can take 6–10 weeks, a mid-complexity app 3–5 months, and a large, feature-rich product 6+ months.
No, you don’t need an LLC to start building or launching an app. However, forming an LLC is recommended as you grow, since it helps with legal protection, payments, taxes, and credibility, especially before monetization or partnerships.
Definitely, Flutter is still very relevant in 2026, especially if you want one codebase for iOS + Android with strong performance and a mature ecosystem. It has continued to ship major performance upgrades, which is a strong signal of long-term platform investment.